Free, Open Source, Simple, Distributed, Intelligent, Powerful, Friendly.
"Arachni is an Open Source, feature-full, modular, high-performance Ruby framework aimed towards helping penetration testers and administrators evaluate the security of web applications.
It is smart, it trains itself by learning from the HTTP responses it receives during the audit process and is able to perform meta-analysis using a number of factors in order to correctly assess the trustworthiness of results and intelligently identify false-positives.
It is versatile enough to cover a great deal of use cases, ranging from a simple command line scanner utility, to a global high performance grid of scanners, to a Ruby library allowing for scripted audits, to a multi-user multi-scan web collaboration platform".- http://www.arachni-scanner.com/
By default, BackTrack does not come with Arachni. So first things first, we will need to download the package first to install.
#wget http://downloads.arachni-scanner.com/arachni-0.4.3-0.4.1-linux-x86_64.tar.gz

Extract the package by doing a
#tar xvzf arachni-0.4.3-0.4.1-linux-x86_64.tar.gz

Once extracted, go into the folder
#cd arachni-0.4.3-0.4.1/bin/

Doing a #ls will list down the files inside the folder

To start the Arachni Web service, do a
#./arachni_web

Fire up your Firefox and do a
http://localhost:9292
*Note: There are some instance where arachni will provide a different port. Look at the output
>>>Listening on 0.0.0.0:9292 (this is where it will show what port it is using)
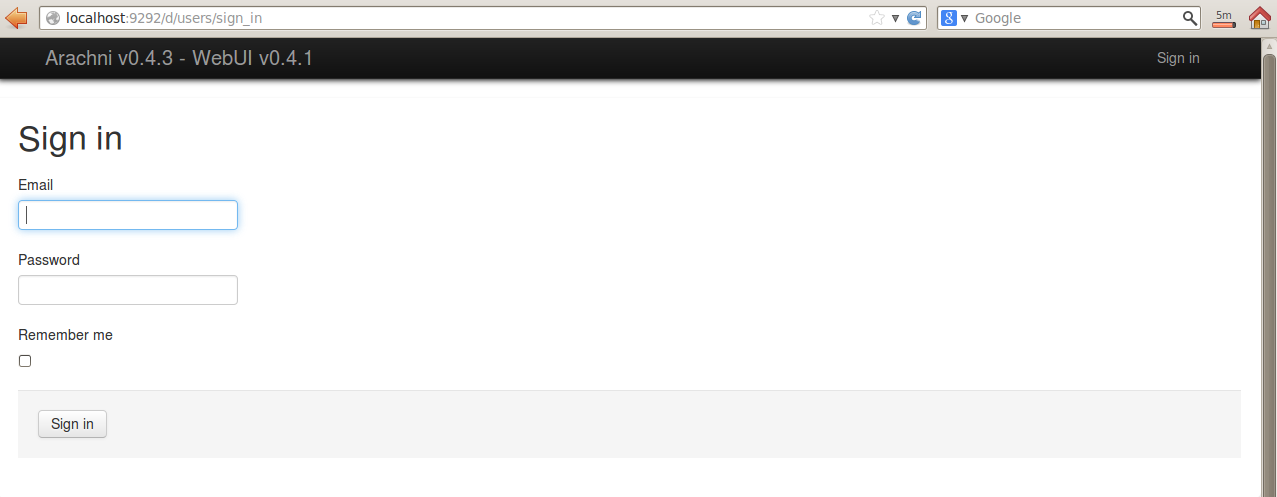
You need to sign in and by default, the user name and password are inside the 'README' file

Read the 'README' file by doing a
#less README

Input the credentials and you are now ready to use Arachni!


